
Menu
Before we start, if you’re wondering what a waterfall hairstyle is, let us make it clear. Waterfall hairstyle, also known as a waterfall braid, is a half French braid in which part of the hair is braided and the rest is left to cascade down, like a waterfall. Now, move on to learn how to do a waterfall hairstyle.
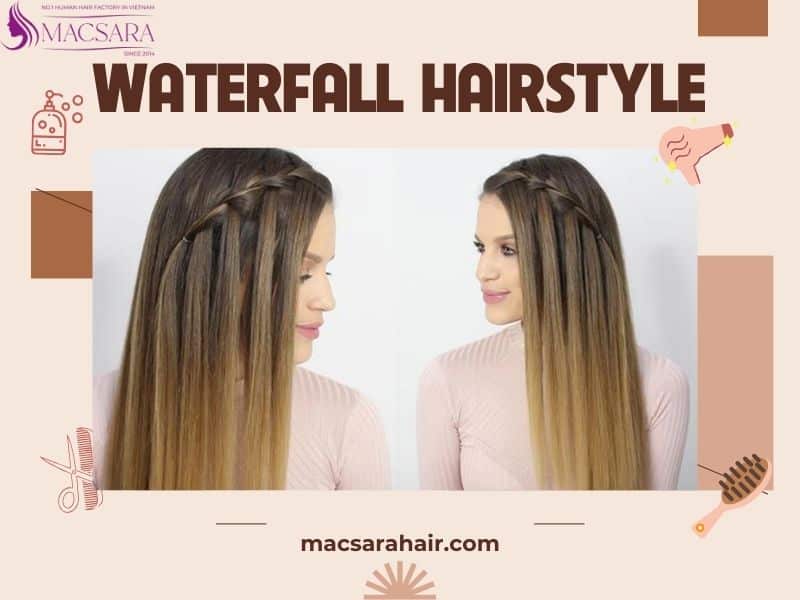
Step 1: First, brush your hair thoroughly and comb it well.
Step 2: Add extensions – If you have hair extensions, use them to add thickness and volume. Check out Macsara Hair to find suitable hair extensions.
Step 3: Section hair – Create a deep side part, then grab a section of hair on the right side and divide it into two pieces.
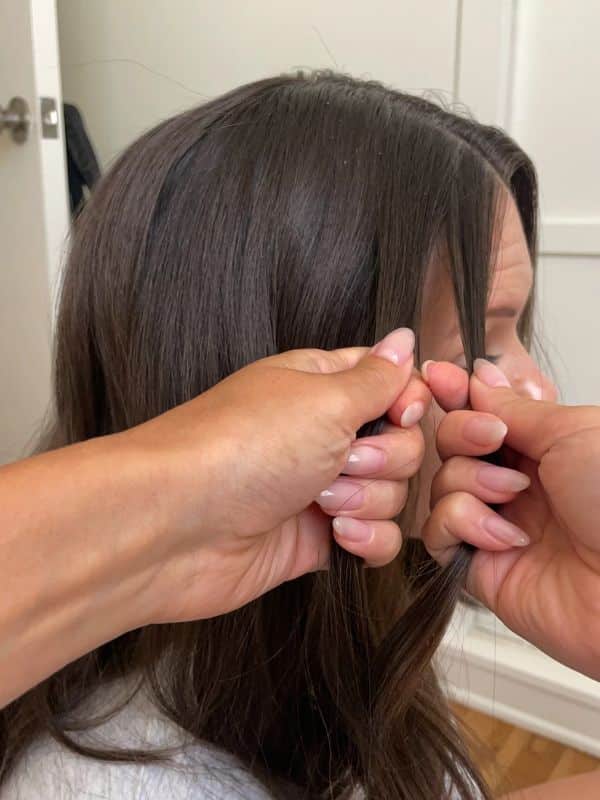
Step 4: Cross the section of hair along your hairline over the other section.
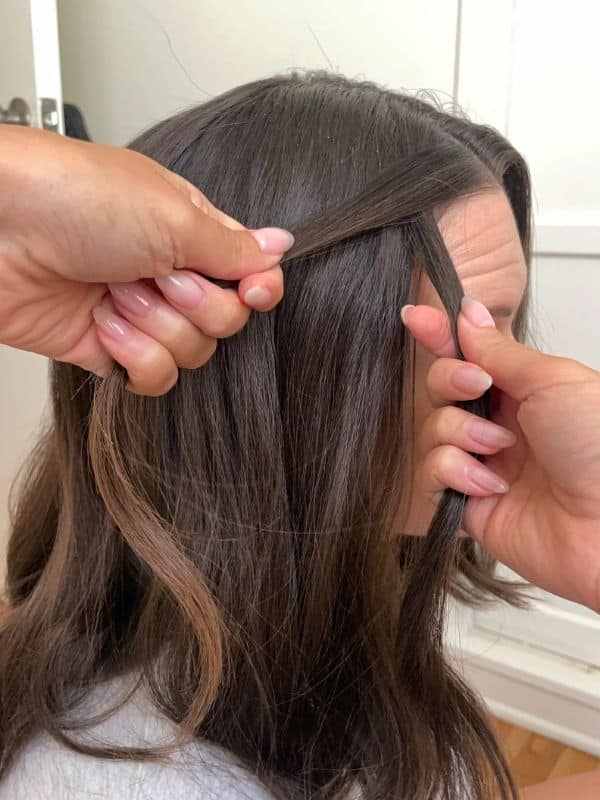
Step 5: Take a new section of hair from the top of your head and let it fall on top of the section you just pulled away from your face.
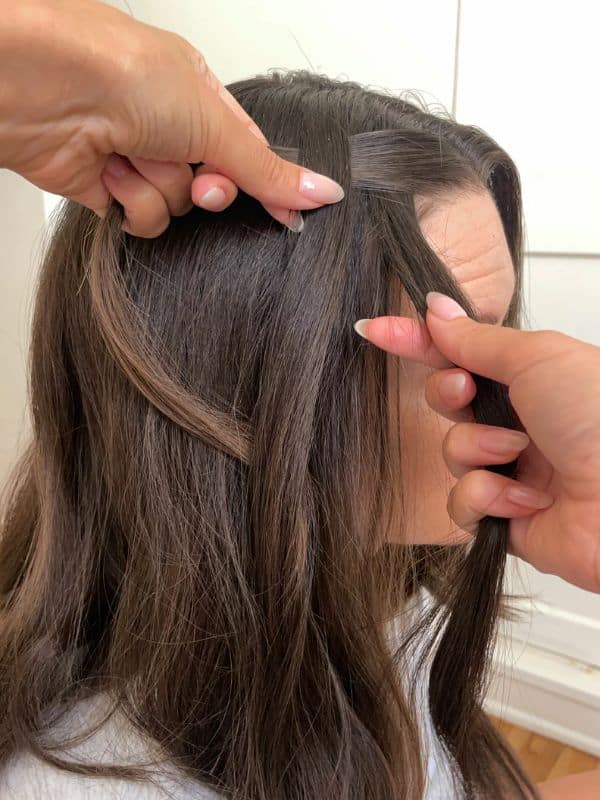
Step 6: Drop the section of hair you just placed so it falls through your twist, creating that waterfall effect.

Step 7: Take the bottom section of hair and pull it over the waterfall section. Then take another section of hair from the top of your head to make another waterfall piece, and let it fall through the other sections of hair. Repeat the process until your waterfall braid is the length you want.

Step 8: Once you reach the end, secure it with a clear elastic.
Step 9: To hide the braided end, tuck it under the layers at the back of your head. Pin it in place with a bobby pin.
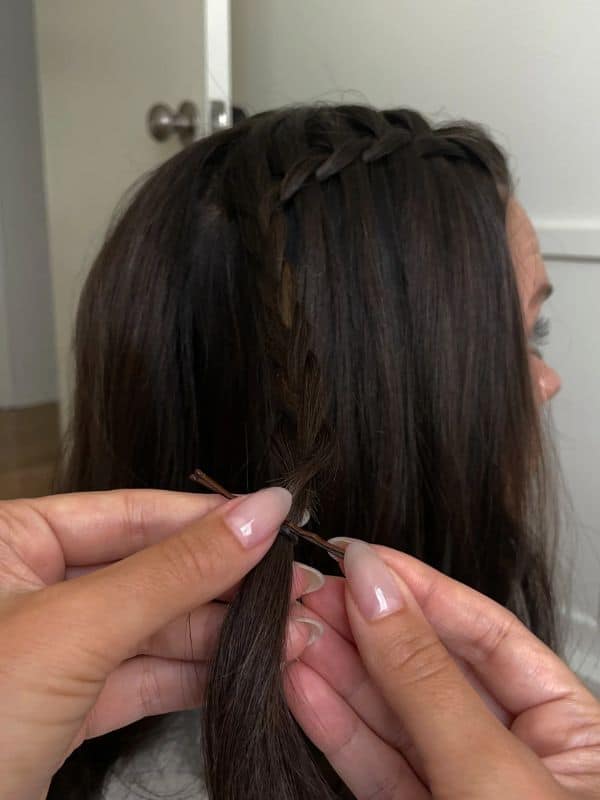
Step 10: To keep the waterfall in shape, use hairspray to permanently fix the hair.
Waterfall braids and black hair are meant to be together; they support each other. Those ladies who want their facial features highlighted should try this look once; it won’t make you disappointed.

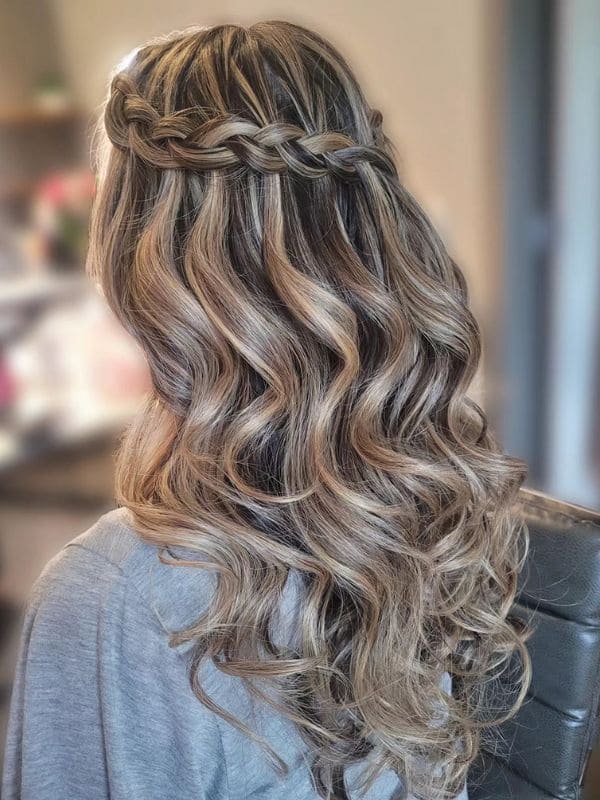
Whether you want a dazzling appearance or not, a waterfall with curls is the key. You can also add some accessories, such as ribbon, to boost your charm. Actually, this style was born for weddings or special parties.
Is short hair difficult to style? No, it’s not. Moreover, waterfall hairstyles for short hair are easier than others and bring a youthful and mischievous vibe. All girls probably tried this style when you guys were young.

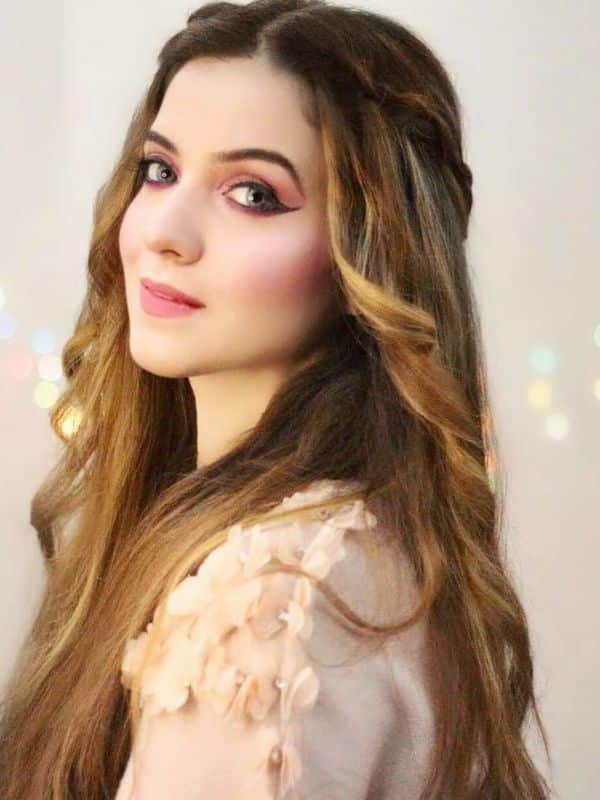
Take the top piece of hair closest to your hairline, and then create a waterfall as usual. This style brings a luxury feeling that you can’t pass up this festive season.
See more: What Is The Difference When Comparing Knotless Braids Vs Box Braids?
Unlike traditional straight-across layers, the waterfall hairstyle haircut gives a different feeling, getting longer as they descend down the head. This creates a natural, soft look that is perfect for those with longer hair. The layers are cut at an angle fewer than 90 degrees, giving the ends a playful appearance.
The cut works with all types of hair and textures, but there is one note that needs to be considered: the longer, the better. If your hair is too short, the layer will stick out and make you look informal.
Step 1: For the first section, once you’ve secured your hair with two hair ties, hold the hair between your index finger and middle finger horizontally. And with the other hand, hold the scissors horizontally and cut however much you want to take off the overall length of the hair.
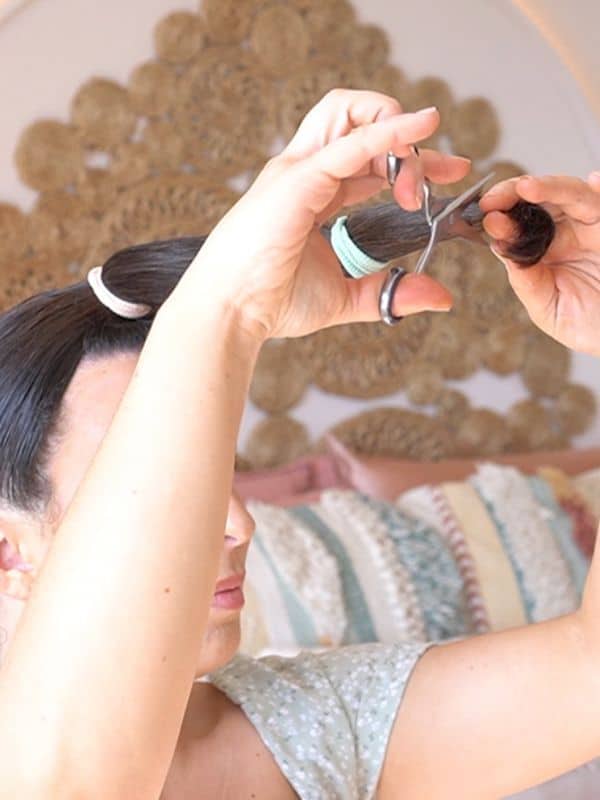
Step 2: Once you’ve cut the hair, hold the hair horizontally and securely with your index and middle fingers. Turn the scissors vertically, and cut vertically all along the new cut or edge you just created. This technique will soften the cut, so you’re not left with an angular finish.
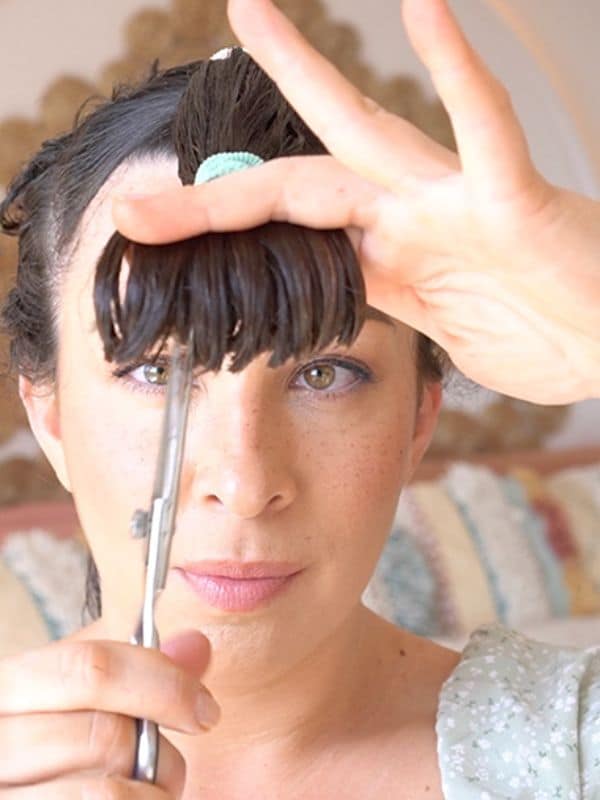
Step 3: Take all of the hair, brush it, and smooth it forward. Tie it securely, right at the front of your head. The closer to the hairline you tie it, the more face framing layers and a sharp V-shape you’ll have.

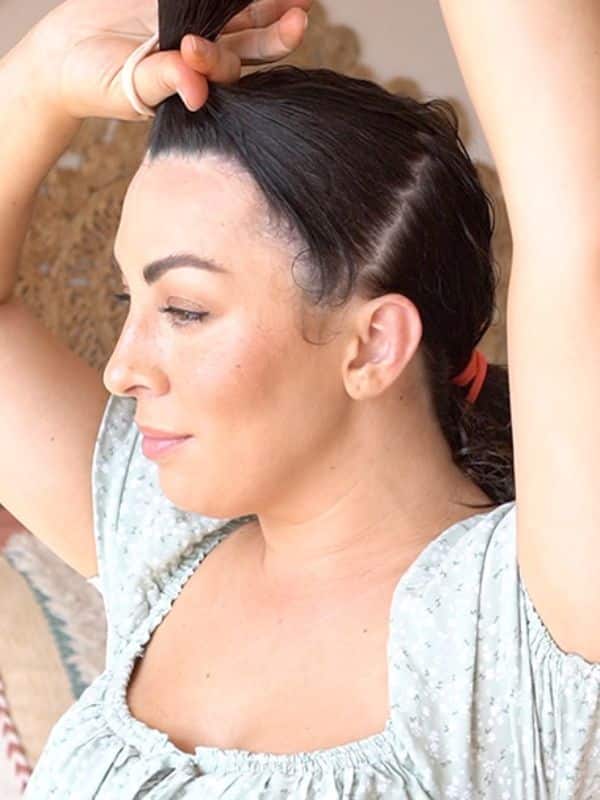
Step 4: Section the hair at or just above the ear, all the way up and back to the crown of the head. This section is about creating mid-length layers, from the chin downward, and deciding how much your layers are going to bounce up. Along the middle of the head, at the front, the crown, and the back of the neck.
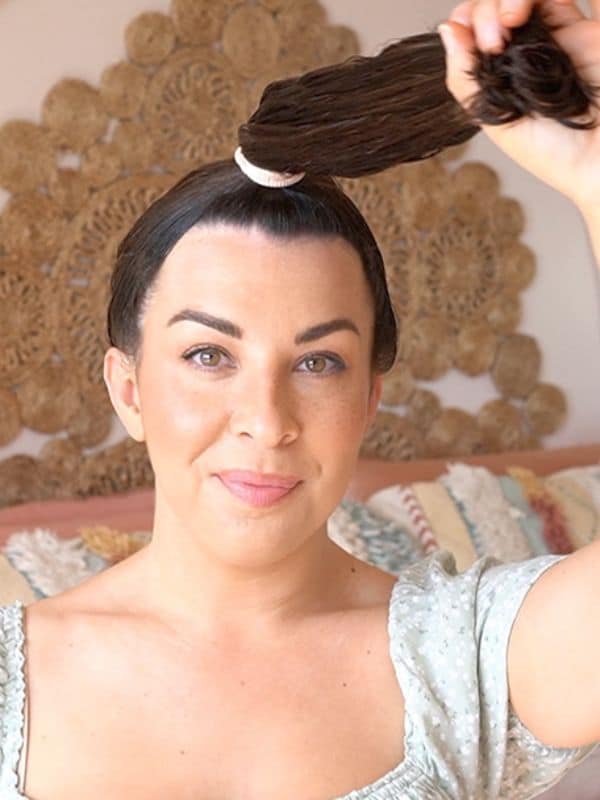
Step 5: Section the hair from the corner of the eye, towards the tail of the brow, and up to the middle of the top, flat part of your head. Tie in the same position as when you tied the first cut. This section is about creating those baby bangs. The shorter face-framing layers are going to fall somewhere around your cheekbone or ear, which helps to soften your angular angle.
Above are these overviews of the waterfall hairstyle; we hope you can make your own and shine with it. As we mentioned, if you want to volumize your hair and add thickness, Mascara Hair can meet your needs. We are a hair wholesale supplier with high quality products. Contact Macsara Hair now via +84 98 6980 492 to get 24/7 support on premium human hair extensions and grab special deals!

Mr. Jack Nguyen - The CEO and founder with a broad and visionary perspective of Macsara Hair - a company with a leading human hair factory in Vietnam.
Grab our promotions first
Copyright 2023 © Macsara Hair
