

Hair twists are increasingly common among hair lovers, and for good reason. Not only do they protect natural hair from harmful environmental factors and heat styling but they are also super chic with many variations to experiment with. If you want to learn how to do hair twists, we’re here to help. Keep reading to discover 5 stunning twist hairstyles with Macsara Hair.

When it comes to twists, there are various hairstyles to try. Whether you want a casual look or are looking to switch things up for a special night out, the 5 popular twist hairstyles below are for you.
If you are a beginner, you may love two-strand twists for their easy technique yet beautiful results. To create two-strand twists, you just need to twist two sections of hair around one another to the ends. Moreover, this hairstyle works well for natural hair, adds no tension, and requires zero heat!

Flat twists can be seen as a combination of two-strands twists and cornrows. It involves twisting sections of hair close to the scalp, similar to cornrows, but instead of braiding, the hair is twisted. This hairstyle is known for its versatility as it can be worn on its own or combined with other styles. When unraveled, flat twists can result in defined, voluminous curls that are known as twist-outs.

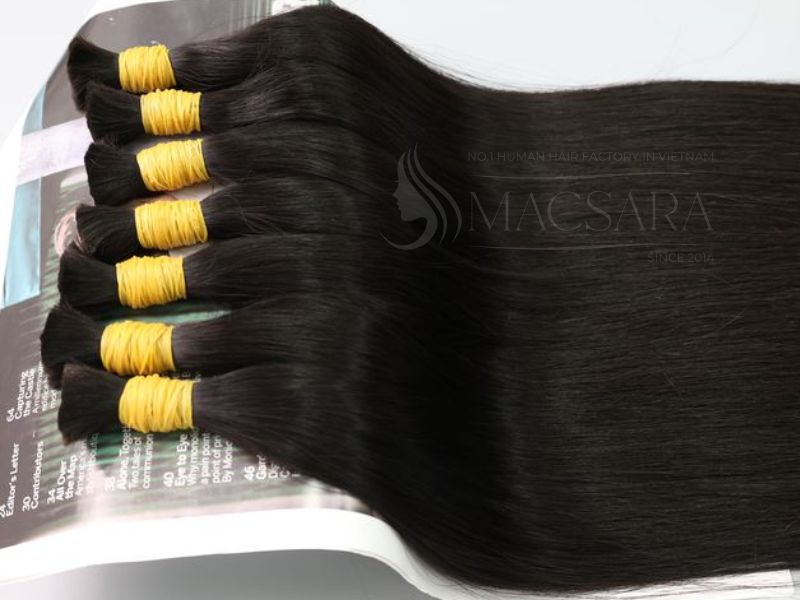
Senegalese twists are a common protective hairstyle that looks like ropes, hence its nickname “rope twists”. They are similar to box braids but are different in that two strands are twisted together instead of three strands being braided. Loose hair extensions are often used to make the twists chunky and long.

Havana twists are a chic twist hairstyle that involves adding kinky or coily hair extensions for an afro-textured, voluminous look. The result is rope-like twists that are larger than Senegalese twists.

If large twists are not your thing, you may love spring twists. They feature small twists that are lightweight and give a springy and twisty look. To achieve this hairstyle, you’ll need hair extensions that are made of kinky or coily hair.

Before diving into the steps of how to do hair twists, you need to make preparations as follows for a smooth process and the best result.
The best twists require an excellent foundation, so it’s essential to prep your hair properly before doing hair twists. Your hair needs to be clean so there is not any product buildup, which makes it difficult to style.
It’s crucial to moisturize your hair thoroughly as it helps lock in moisture for the entire time your twists are in and thus minimize frizz. After washing your hair with a clarifying shampoo, apply a deep conditioner to your hair and gently detangling your hair.
When your hair is dry, seal the moisture with a leave-in conditioner, cream, or oil. If you have Type 4 hair, you can stretch your hair before start doing hair twists to make the process easier. Let your hair air dry about 50% before using a blow dryer at a low temperature while stretching your hair with your hand.
Read more: Soft Locs Hairstyles
Use a rat tail comb to divide your hair into manageable sections and secure them with clips, except one section. Gently brush the unclipped section to remove any tangles or knots.
Now, you need to divide the section into smaller sections to create twists. The size of the section depends on how large you want the twist to be. This means the larger the twists, the fewer sections you need.
Once you’ve parted a section of hair for the first twist, apply styling gel or cream to moisturize the strand and make it easier to style.
Split the section into two equal parts. Stretch out the hair and begin to twist them over each other. When you reach the end, twirl the ends around your finger. To keep the hair from unraveling, apply a little gel or cream to the ends while twirling them. Repeat the process throughout your entire head.
Do you find this twist hairstyle easy to do? If you are a beginner learning how to do twists on natural hair, go for two strand twists!

Divide your hair into manageable sections using a rat tail comb. Secure them with hair clips but keep one section unclipped. The number of sections will depend on the style you’re aiming for.
Next, part a small section of hair where you want to start your flat twist. The size and shape of this part will depend on the look you want to achieve. Smaller sections will create more defined twists, while larger sections will give a chunkier look.
Don’t forget to apply styling gel or cream to the strand you’ve selected for extra hydration and hold.
Start with a small section at the hairline, dividing it into two equal parts. Begin twisting the two sections around each other. After the first twist, add a small amount of hair from the scalp to the section you’re crossing over. Continue this process, adding hair from the section each time you twist. Ensure the twist lays flat against your scalp by keeping the added hair close to the scalp as you twist.
Keep twisting your hair using the technique above until the twist is no longer attached to the scalp. Now you just need to twist the remaining hair into a regular two-strand twist. You can also let your hair set overnight and untwist it for a twist-out style.

For Senegalese twists, besides prepping your natural hair, you’ll need to prep hair extensions that will be used to make the twists chunky and long. Divide your loose hair extensions into equal parts. The size of each part depends on how large you want your twist to be, but it should not be too small for a typical Senegalese twist. Trim the hair extensions to your desired length if needed.
Part your hair as you want and divide your hair into manageable sections based on your desired style. Secure them with clips but keep one section unclipped.
Take a small section from the unclipped hair and split it into two equal parts. Apply styling gel or cream to keep them defined and separate. Then take a section of hair extensions and fold it in half to create a loop.
Lay the center of the loop over where you’ve split the natural hair section and hold the hair extensions along with the two parts of natural hair, making sure you have an equal length of hair extensions with each part of your natural hair.
Start by twisting the two sections of hair (one part natural, one part extension) individually in the same direction. Once both sections are twisted, twist them around each other in the opposite direction, which results in twists that look like ropes.
When you reach the end, secure it by applying styling gel or cream and twirling it, or use a small elastic band to secure the ends.

Similar to Senegalese twists, you need to prepare hair extensions for creating Havana twists. Divide the hair extensions into smaller sections based on the thickness of your twists.
Divide your hair into manageable sections using hair clips, keeping one section unclipped. The number of sections will depend on the desired size of the twists. Then using the rat-tail comb, part a small section of your hair, which should match the amount of the hair extensions you prepared. Don’t forget to apply styling gel or cream to the strand you’ve selected for extra hydration and hold.
Fold the hair extension strand in half to create a loop and place it along the two natural hair parts, following the steps we’ve outlined in the guide “How To Do Senegalese Twists”.
Start by twisting the two sections of hair (one part natural, one part extension) individually in the same direction. Now you have two sections of hair that you need to twist around each other in the opposite direction to create a rope-like twist. When you reach the end, secure it by applying styling gel or cream and twirling it, or use a small elastic band to secure the ends.

Divide your hair extensions into equal small parts. The size of these sections will determine the thickness of your twists.
Separate your hair into three or four sections depending on the length and density of your hair. Secure them with clips but keep one section unclipped. From this section, part a small section of hair to create the first twist and apply styling gel or cream to it. The size of this section should match the amount of hair extensions you prepared.
Fold the spring twist hair in half to create a loop. Place the looped spring twist hair over the parted section of your natural hair, holding it close to your scalp.
Braid your natural hair with the spring twist hair close to the root (about an inch) to keep the twists secure. After that, gently but firmly two-strand twist your natural hair and the spring hair together all the way to the ends, making sure not to pull too tight so you keep the light, springy texture. Cut any frizzy ends and gently rub them between your fingers to secure the ends.

After learning how to do hair twists, it’s essential to learn how to maintain them. Follow our tips below to help your twists stay gorgeous for as long as possible.

How long your twists last depends on many factors, such as your hair texture, the twist style, and how well you maintain them. However, twists normally last 2-6 weeks or longer.
Yes, you can wash hair twists, but they do not require washing as frequently as your natural hair. You just need to shampoo and condition your twists every 1-2 weeks and use a dry shampoo in between water washes.
Yes, you can swim with twists though this is not recommended. It’s important to take measures to protect your hair from damage caused by chlorine or salt water.
Conclusion
Hair twists are amazing hairstyles that not only protect your natural hair but also look chic. With our ultimate guide on how to do hair twists, don’t hesitate to try out your favorite twist hairstyle today!
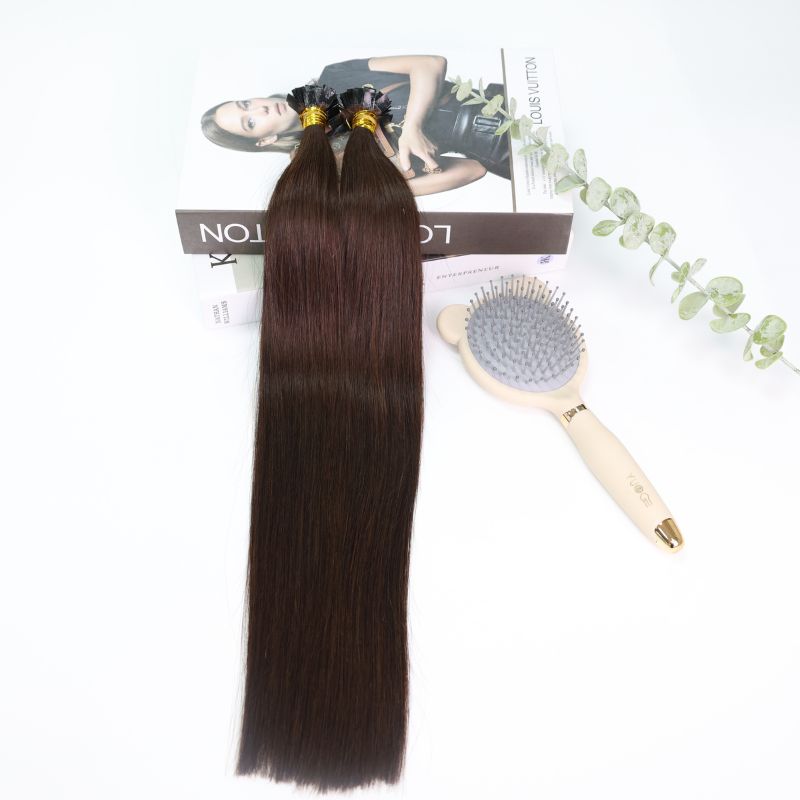
If you are looking for high-quality hair extensions at factory direct prices, Macsara Hair is proud to be your top choice. Made from 100% high-quality human hair, our hair extensions look and feel just like your natural hair. They also come in various types, textures, lengths, and colors to suit different needs.
As a leading Vietnamese hair factory, we are also looking to partner with wholesale hair vendors and salons all over the world, offering you various beneficial policies. For more information and the best deals, don’t hesitate to leave a comment below or contact us at WhatsApp +84 98 6980 492 for 24/7 support!