

Tape-in hair extensions are thin and lightweight, offering a natural look and comfortable feel that everyone loves. The cherry on top is their easy installation, which can be performed by yourself. If you don’t want to splurge on a salon visit to get your tape-ins fitted, follow our guide on DIY tape in hair extensions below. You’ll be able to transform your look at a fraction of the professional cost!

Before diving into the process of DIY tape in extensions, make sure you have all the following necessary supplies ready:
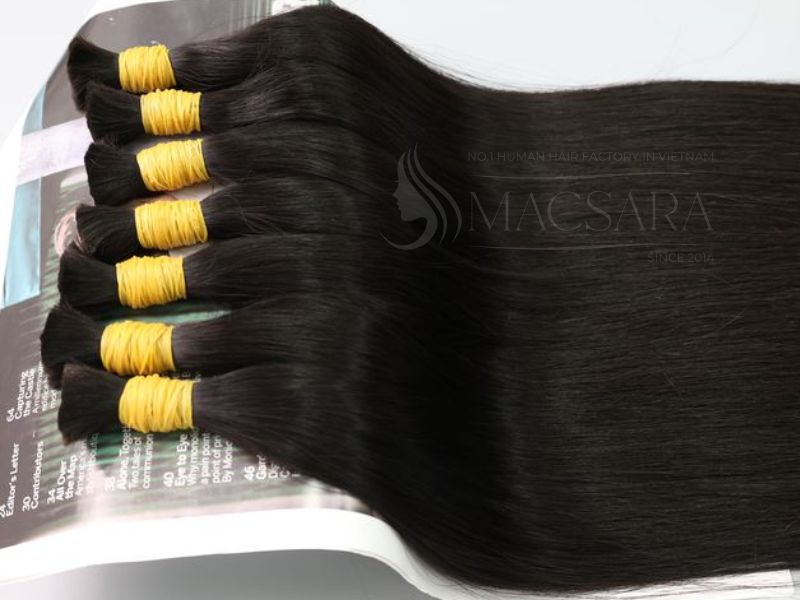
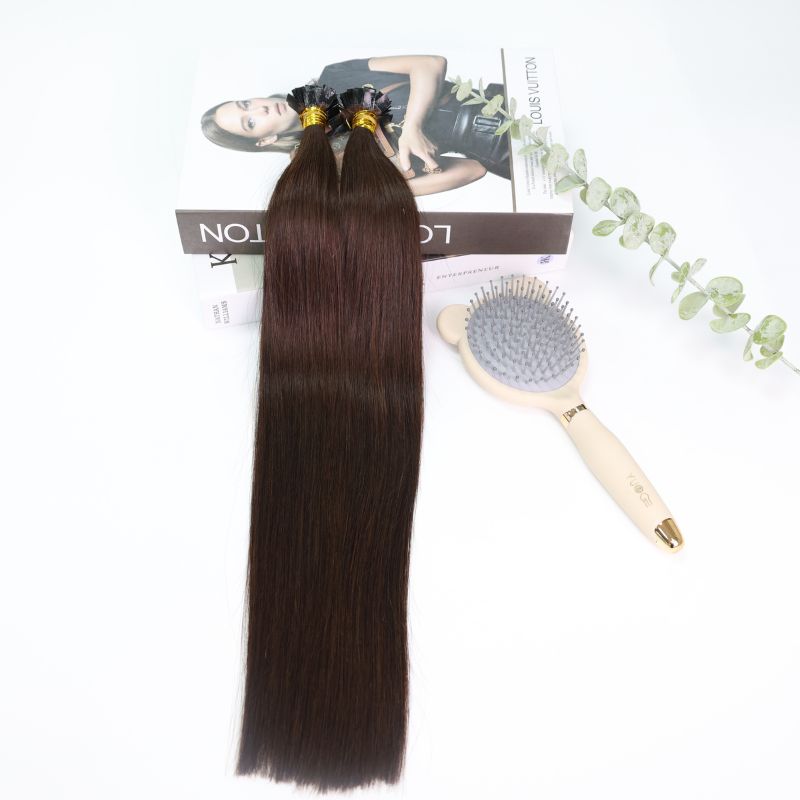
When it comes to tape-in hair extensions, you’d better choose hair extensions that are made from high-quality human hair. They will give you a natural look and feel that synthetic or low-quality human hair extensions cannot. They can also be dyed, styled, and reused, making them a worthwhile investment in the long run.
Choose tape-in hair extensions that match your hair length and color for a seamless blend. If you cannot find the exact shade, it’s fine to go for hair extensions that are a shade or two lighter than your natural color. You’ll need 40 – 60 pieces of tape-in hair extensions for a full head, depending on how thick your hair is. Just note that thick hair needs more tapes for a balanced look.

Clean, dry hair provides the best foundation for your tape-in hair extensions. Once you’ve received your package of tape-ins, resist the temptation to apply them if your hair isn’t newly washed. Dirt, excessive oil, and product buildup will prevent the tapes from staying secure.
Wash your hair using a gentle clarifying shampoo, making sure you remove all product buildup and skip conditioner. Let your hair dry completely before moving on to the next step.
While it’s possible to DIY tape in hair extensions at home, you need to follow instructions carefully to avoid causing any unwanted damage and achieve the best result. Here is a step-by-step guide to help you do it safely and effectively:
Begin by brushing your hair thoroughly using a wide tooth comb or soft bristle brush, working your way up from the ends. You won’t want to attach tape-in extensions to tangled hair, so never skip this simple yet important step.
Once your hair has been detangled, you’ll need to divide it into manageable sections. Using a rat tail comb, create a clean part across your scalp, about an inch away from the nape of your neck, and then clip the rest of your hair away. By doing so, you can ensure no falling hair will get in your way while you’re applying tape-in hair extensions.

Now you need to take a thin section from the unclipped part. It should be thin enough for two tape-in extensions to stick together through the hair (about ⅛ inch).
If you are wondering if it is thin enough, you can check if you can feel your thumb and forefinger through the hair. If yes, it’s a good sign!
Gently lift the small section of hair you’ve chosen, holding it in one hand. Then take a tape-in extension and peel off the strip covering the adhesive on the back. Place it under the natural hair strand about half an inch away from the scalp and press it firmly.
A common mistake with DIY tape in hair extensions is placing the tape too close to the scalp, which prevents natural hair from growing healthily and therefore can cause thinning hair over time.

Your natural hair needs to be sandwiched between two tape-in extensions, so now it’s time to attach another tape-in on top using the same method. Press the two tape-in extensions together for a few seconds to ensure they stick. If they don’t adhere properly, the section of natural hair is too thick. Gently brush some hair off and try again.

So we’ve guided you through step-by-step easiest DIY tape in hair extensions. It’s very straightforward, right? We bet you’ll soon get the hang of it.
Once you’ve applied one tape-in extension successfully, simply repeat the process with the rest of your hair. Apply one tape at a time, working your way up from the nape of your neck. The key is to be patient so all your tapes can be placed neatly.
You can cut your tape-in extensions in half for better blending on the sides of your head, but you’d better leave out 1 inch of hair closest to the ears to make sure the tapes are not visible.
View more: How to Remove Tape-in Hair Extensions Safely and Easily
Learning how to DIY tape in hair extensions is not just about applying them. You need to know how to take care of your tape-ins so they can look their best for as long as possible! Here are our top tips to help you:
If you don’t want your efforts to go down the drain, resist your urge to wash your hair for at least 48 hours. This waiting period allows the extensions to settle and secure. Failure to do so can result in the tape loosening or slipping prematurely, so patience is the key!

Using a wide-tooth comb or a brush made for hair extensions, brush your hair from the ends and work your way up, holding the hair near the tapes to prevent pulling. Avoid brushing directly over the tapes to maintain their hold.
It’s essential to be gentle while washing your hair. Use a sulfate-free shampoo and focus on massaging the scalp softly without vigorous rubbing to prevent tangles.
Conditioner keeps hair soft and smooth but should be used correctly. Your tape-in extensions will thank you if you avoid applying conditioner near the roots. Conditioner or any moisturizer will loosen your tape-ins, affecting their lifespan.
To prevent tangling and reduce stress on the extensions while you sleep, secure your hair by braiding it loosely or tying it in a low ponytail. Using a silk or satin pillowcase also helps minimize friction and hair breakage.

Conclusion
With our step-by-step guide above, even beginners can confidently apply DIY tape in hair extensions. Follow our guide to achieve a seamless look without breaking the bank!
If you need a reliable supplier of high-quality tape-in hair extensions, look no further than Macsara Hair – a leading Vietnamese hair factory. Our extensions are made from 100% human hair with medical-grade adhesive, offering a natural look and secure hold. We offer various textures, colors, and lengths to suit your needs.
Macsara Hair is also eager to partner with wholesale vendors and salon owners worldwide, offering various beneficial policies. Leave a comment or contact us on WhatsApp at +84 98 6980 492 for 24/7 support!