


Looking to add a bit of flair to your hairstyle? The Dutch braid, also known as the reverse French braid, is an eye-catching and stylish braid that works for any occasion. Though it may seem complicated at first glance, once you understand the technique, it’s actually quite simple to do.
Whether you’re braiding your own hair or helping a friend, this Dutch braids tutorial will walk you through the process step by step. From basic to double Dutch braids, get ready to master a hairstyle that’s perfect for everything from casual days to elegant events. Let’s jump right in!

A Dutch braid, often referred to as a reverse French braid, is a popular hairstyle known for its raised, 3D effect. Unlike a traditional French braid, where the strands are crossed over each other, a Dutch braid features strands woven underneath, resulting in a braid that sits on top of the hair for a fuller appearance.
This creates a visually appealing braid that can be worn as a single plait or styled into multiple braids and various updos, making it suitable for both casual and formal occasions. With a little practice, anyone can master the Dutch braid for a stylish and functional look.

With these items on hand, you’ll be ready to create a stunning Dutch braid! Gather the following:

See more: Update 15 Hottest Butterfly Haircuts For 2024
The Dutch braid starts similarly to a standard French braid, but with one key difference: instead of crossing sections of hair over each other, the strands are crossed underneath. Here’s how to do Dutch braids on yourself with ease.
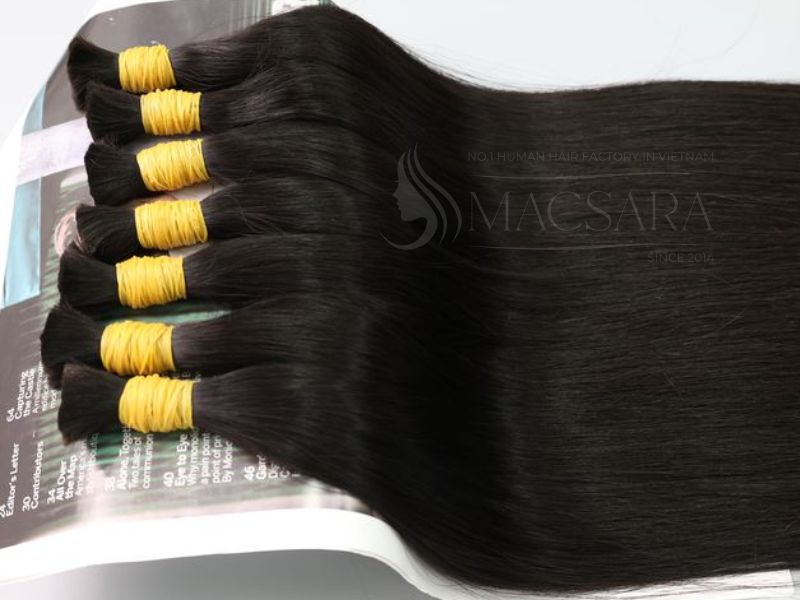
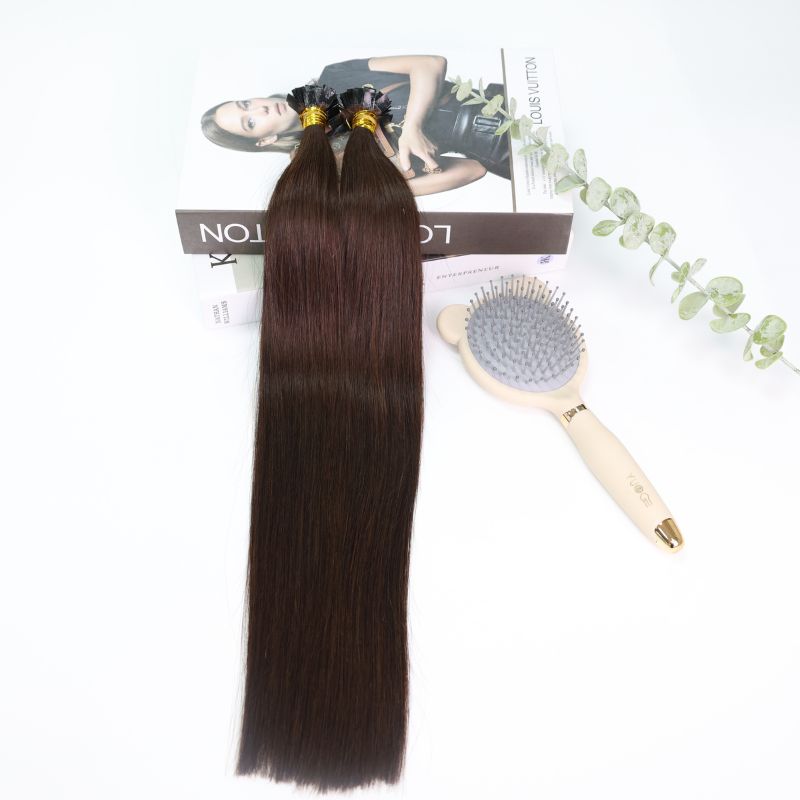
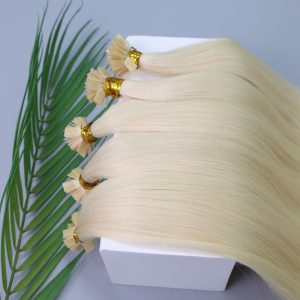
Start by brushing your hair to remove any tangles or knots. You can braid your hair when it’s dry, or slightly damp if you want tighter, more defined curls after removing the braid later. Smooth down flyaways with a bit of water or a light styling product like serum or pomade. Additionally, you can add some hair extensions to create a fuller braid. With Macsara Hair 100% human hair extensions, there’s no one going to tell you to use fake hair.

Brush your hair straight back, eliminating any part lines. Gather a section of hair from your hairline, spanning the width of your forehead, and divide it into three equal parts. This will form the foundation of your braid.

Now, it’s time to start your braid. Take the right section of hair and bring it underneath the middle section, then do the same with the left section, crossing it under the newly formed middle strand. This underhand technique is what gives the Dutch braid its unique appearance.

As you continue braiding, add a small section of hair from your hairline to the right strand before crossing it under the middle. Repeat this step on the left side, ensuring that each strand is kept tight for a polished look.

Continue this process until you’ve incorporated all your hair into the braid and reached the nape of your neck. Once there, finish the remaining length with a standard three-strand braid, securing it with a hair tie at the end. To include more volume, softly pull at the outer edges of the braid to create a looser appearance.

If you want to take your Dutch braid to the next level, try coiling it into a bun at the nape of your neck for a romantic, elegant look. Secure it with bobby pins, and you’re ready to go! If you have outdoor activities, use hair spray to keep your braid in place all day long.
If your hair is on the shorter side or you’re looking for a more dynamic style, the double Dutch braid is a fantastic alternative. This version splits your hair into two sections, creating two bold braids for a striking look.
Just like with the basic Dutch braid, start by brushing your hair until it’s smooth. Use a rat-tail comb to part your hair straight down the middle from your forehead to the nape of your neck, creating two equal sections.

Pin one section of hair back to keep it from interfering with your first braid. On the left side, take a small section from your hairline and divide it into three equal parts. Cross the strands underneath one another, following the same technique as the basic Dutch braid.
As you keep braiding, incorporate small sections of hair from both the left and right sides of the part into their respective braid strands. Maintain consistent tension, and continue braiding down to the nape of your neck. Once you reach the end, finish with a regular braid and secure it with a small elastic.

After finishing the first braid, unclip the second section of hair and repeat the process. Be sure to keep the braids symmetrical for the best effect. Once both braids are complete, you can either leave them as-is or experiment with fun styling options.

Two Dutch braids are incredibly versatile. For an athletic look, leave the braids as they are. If you want to elevate your style, try twisting both braids into mini buns or pinning them up into a crown braid. Another popular option is to combine the two braids into a single ponytail at the base of your neck.
The Dutch braid may seem tricky at first, but once you get the hang of it, you’ll be able to create a variety of stunning hairstyles. From a simple, single Dutch braid to the bold double Dutch braid, this technique opens up endless possibilities for chic and versatile looks. Perfect for any hair length and adaptable for both casual and formal occasions, the Dutch braid is a must-learn for anyone looking to up their hairstyling game. Ready to give it a try?
Combining with some hair extensions to get a fuller look is not a bad idea. At Macsara Hair – #1 Vietnamese hair vendor, we offer the highest quality products made from 100% real human hair, allowing customers to feel confident when going out without worrying about their extensions being visible. Contact us on WhatsApp at +84 98 6980 492 for stunning hair extensions collections with unmatched factory prices!