Menu
I-tip hair extensions, also known as stick tip, or micro ring hair extensions, are a highly preferred choice due to their super natural-looking result and comfortable feel. They are applied using a strand-by-strand method with no heat needed. Whether you are a hairstylist or a hair lover eager to learn how to install I tip hair extensions, you’ve come to the right place. In this post, we’ll walk you through a detailed guide on I-tip hair extensions application as well as hair care tips.
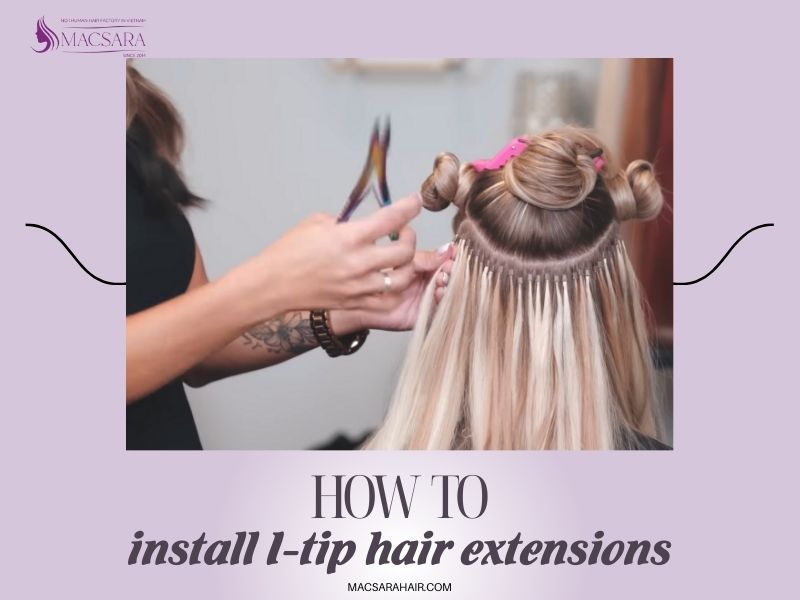
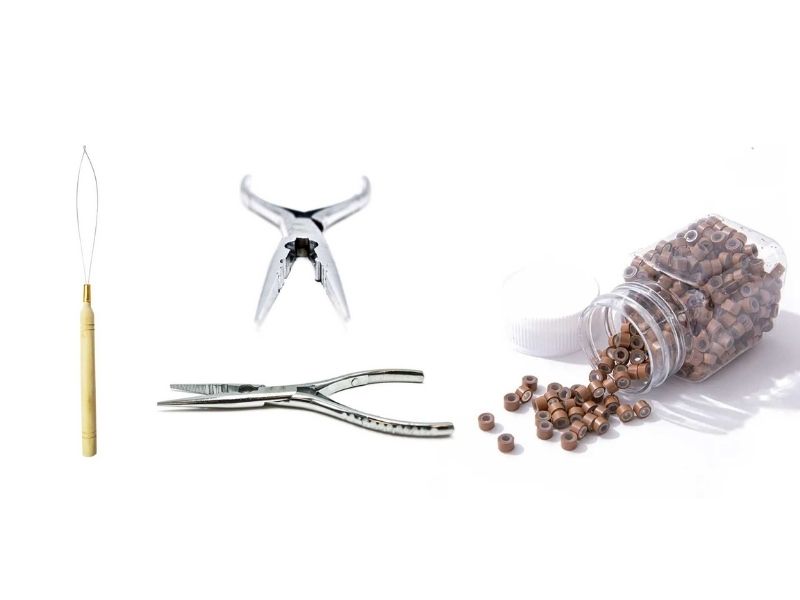
I-tip hair extensions feature individual strands with small cylinder keratin tips at one end. For your information, keratin is a type of protein found in natural hair and nails. Installing I tip hair extensions is pretty complicated, so it normally requires professional hairstylists for the best results. Before diving into the steps of I-tip hair extensions application, the essential supplies below must be gathered:
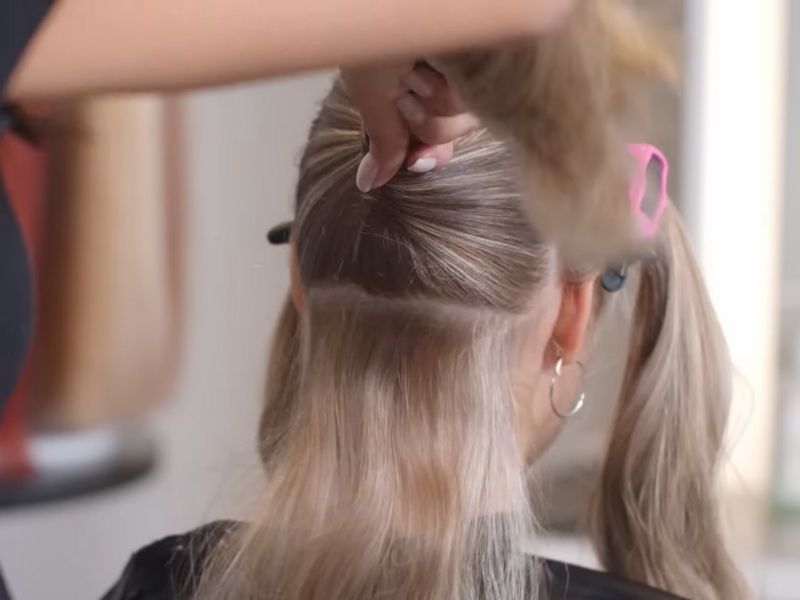
Brush your hair thoroughly to remove any tangles and knots. Then using a rat tail comb, divide your hair into manageable sections by creating a horizontal part about an inch from the nape of your neck. Keep the rest of your hair secure with sectioning clips, ensuring they don’t get in your way while you are working with the bottom hair.
Slide microbeads onto the hook of a pulling needle. Make sure the rings are firmly in place. Thread as many microbeads as possible as this helps save you time during the process.
Holding the hook in one hand, gently take a strand of natural hair from the unclipped part. The strand should be the same size as an I-tip strand, which is about 1-2mm wide.
Hold the looping tool in one hand and pull the chosen strand of hair through the loop. Next, slide a microbead up the looping tool so that it catches the hair strand. When the bead touches the hair, pull the tool downward while pushing the bead upward to thread the hair through it. This positions the micro bead at the base of your hair strands, but don’t let it touch the scalp as this can cause discomfort. Place the bead about ½ inch away from the scalp to ensure your natural hair can grow healthily.
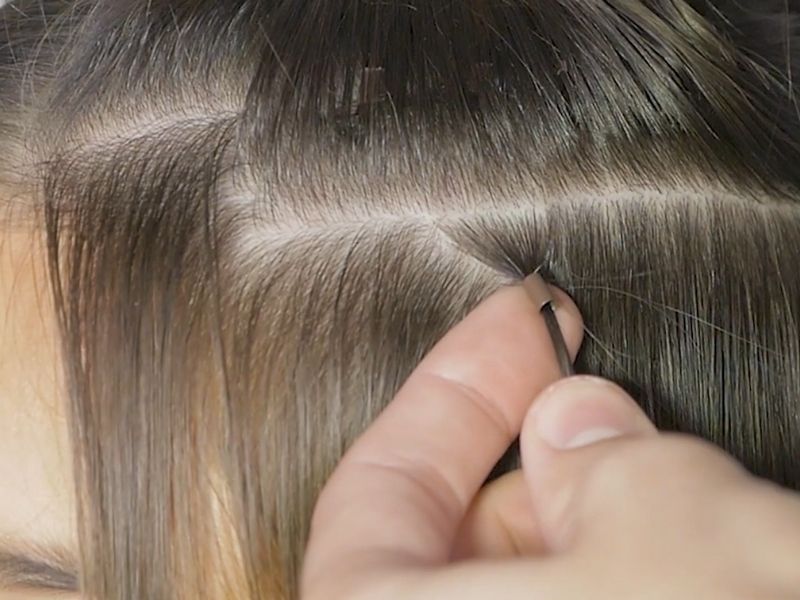
Now it’s time to apply a strand of I-tip hair extensions to your hair. Holding the beaded natural strand in one hand, take an I-tip strand and insert its tip through the microbead, placing it on top of the natural hair strand. Make sure the two strands are aligned and the bead is still kept about ½ inch away from the scalp.
Use pliers to clamp shut the microbead to secure the hair extension in place.
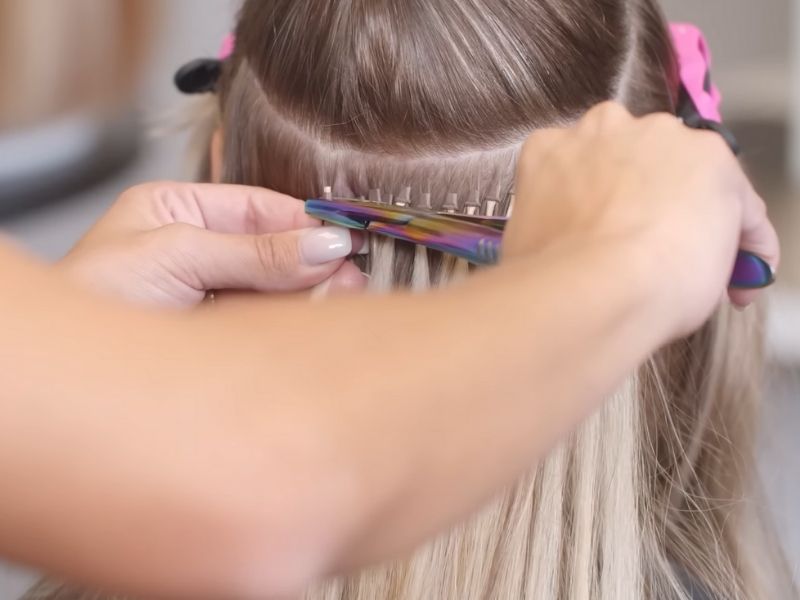
So we’ve walked you through the process of how to install I tip hair extensions. Now you just need to repeat the process with the remaining hair. Work your way up from the nape of the neck in horizontal rows until you reach the horseshoe section of the head.

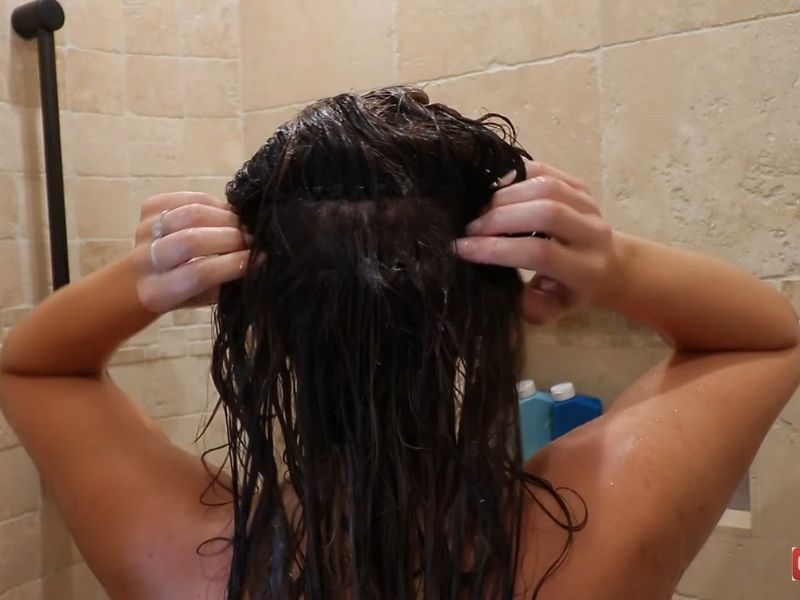
After getting your I-tip hair extensions fitted, it is essential to learn how to care for them as proper care is the key to prolonging their lifespan. Follow our top tips below to help your I-tips stay gorgeous for as long as possible!
View more: What Are I-Tip Hair Extensions Pros And Cons? The Ultimate Guide
Conclusion
I tip hair extensions installation is not that straight-forward. However, with the right tools, guidelines, and practice, you’ll be able to install I tip hair extensions effectively.
If you are looking for a reliable supplier of I-tip hair extensions, Macsara Hair – a leading Vietnamese hair factory with more than 15 years of experience in the industry, is where you can place your trust. Our I-tip hair extensions are made from 100% high-quality human hair and Italian keratin tips, ensuring a natural look and feel as well as a long lifespan. They also come in various textures, colors, and lengths to help you find your perfect match.
Macsara Hair is looking to partner with wholesale hair vendors and salons all over the world, offering you various beneficial policies. For more information and the best deals, don’t hesitate to leave a comment below or contact us at WhatsApp +84 98 6980 492 for 24/7 support!

Mr. Jack Nguyen - The CEO and founder with a broad and visionary perspective of Macsara Hair - a company with a leading human hair factory in Vietnam.
Grab our promotions first
Copyright 2023 © Macsara Hair
